How to Make A Mini Accordion Fold Album
Are you looking for ways to add more photos to your memory-keeping projects without overwhelming your pages with photos? A mini accordion album is a great way to do this.
These little albums are quick and easy to make, and you can even often use up those partial sheets of 12×12 paper.
Keep reading to learn how to make your own mini accordion album. These mini-albums are a great addition to any project!
This post may contain affiliate links. This means if you click through and buy, we may earn a small commission. (At no cost to you.) Please see our full disclosure for more details.
Supplies you’ll need:
- A strip of paper measuring 12 x 4 inches
- Scoring tool
- Bone folder
- Adhesive
- Embellishments & Ribbon
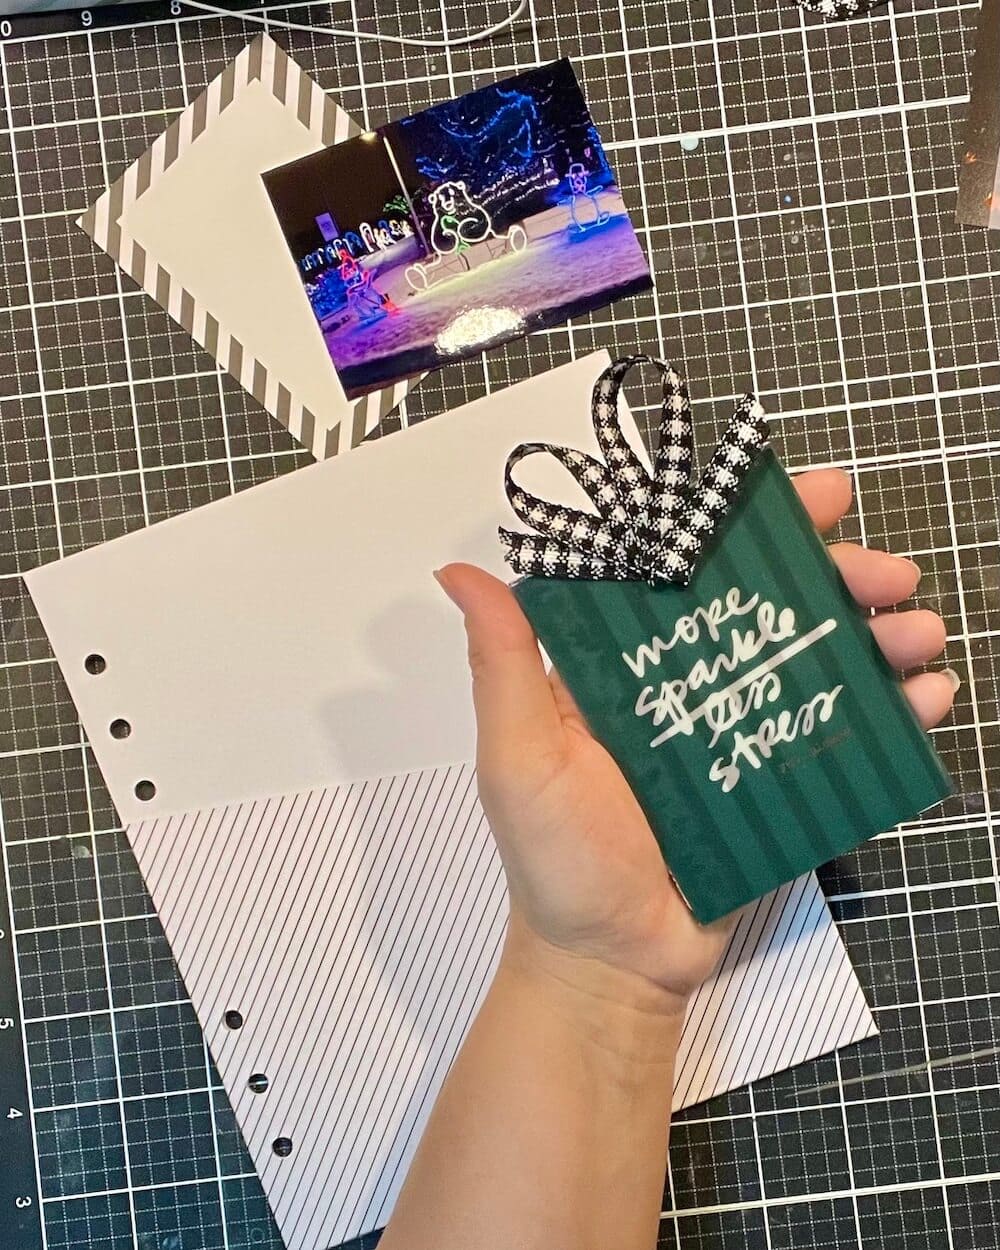
- Photos measuring 2.75 x 3.75 or 3×4 photos trimmed to size
Instructions:
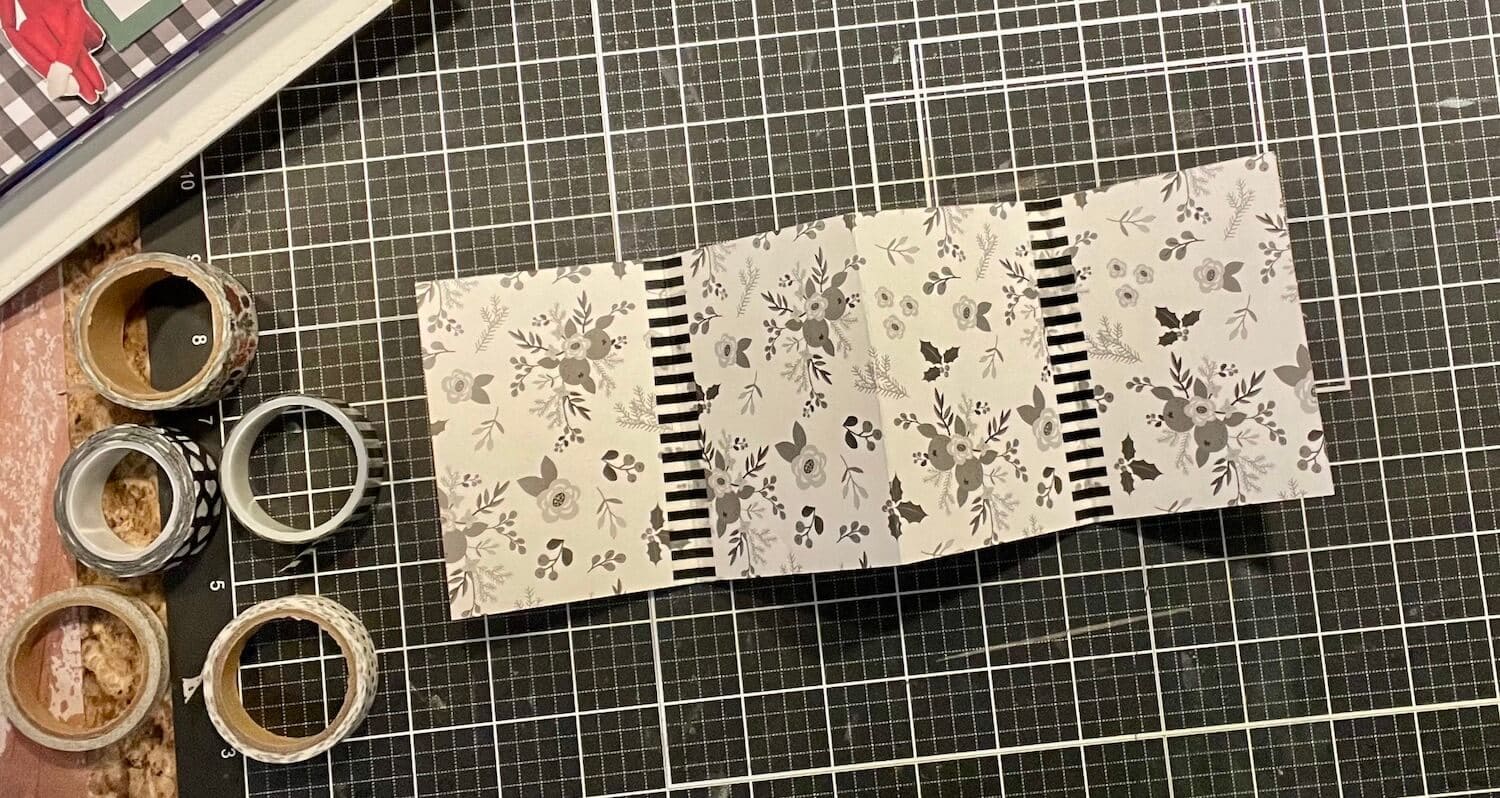
- Cut a piece of paper (patterned or cardstock ) to 4 x 12 inches. Double-sided paper works best for these little albums.
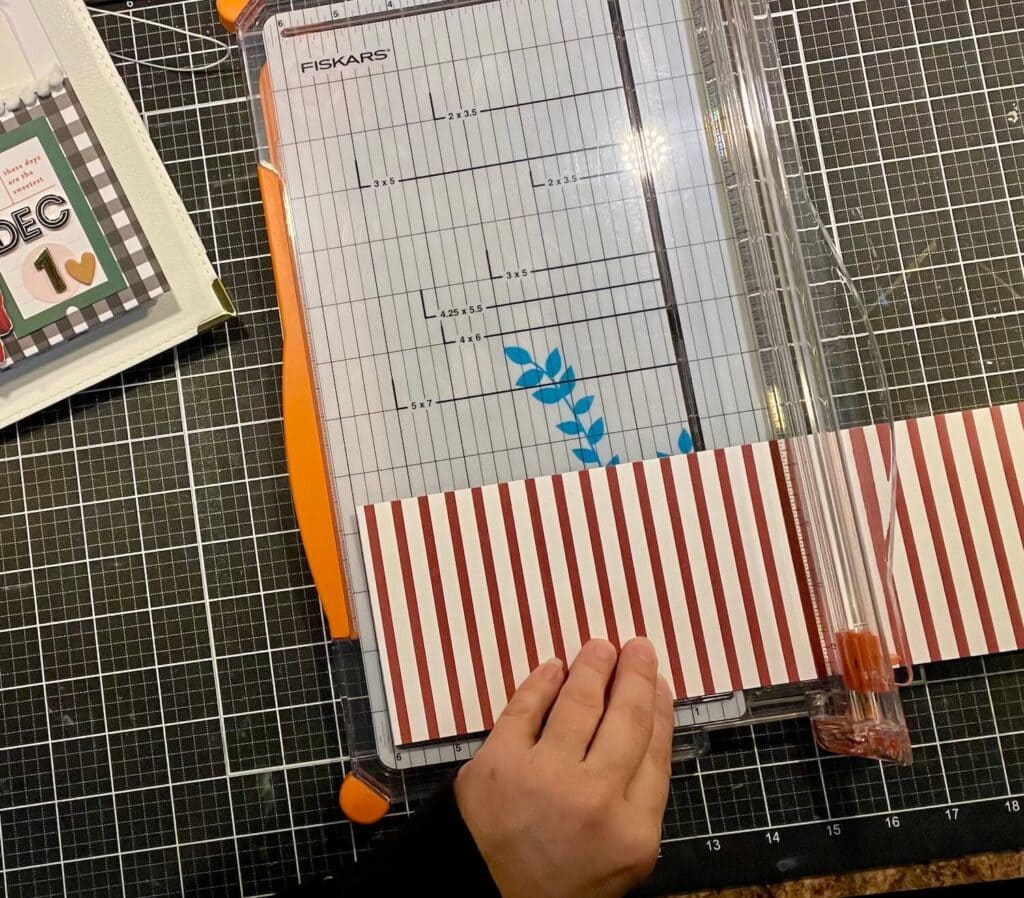
- Score your fold lines at 3 inches, 6 inches & 9 inches. At the moment I do not have a scoring tool like a Scor-Pal, (but it’s on my shopping list), so I use my paper trimmer to get the job done.
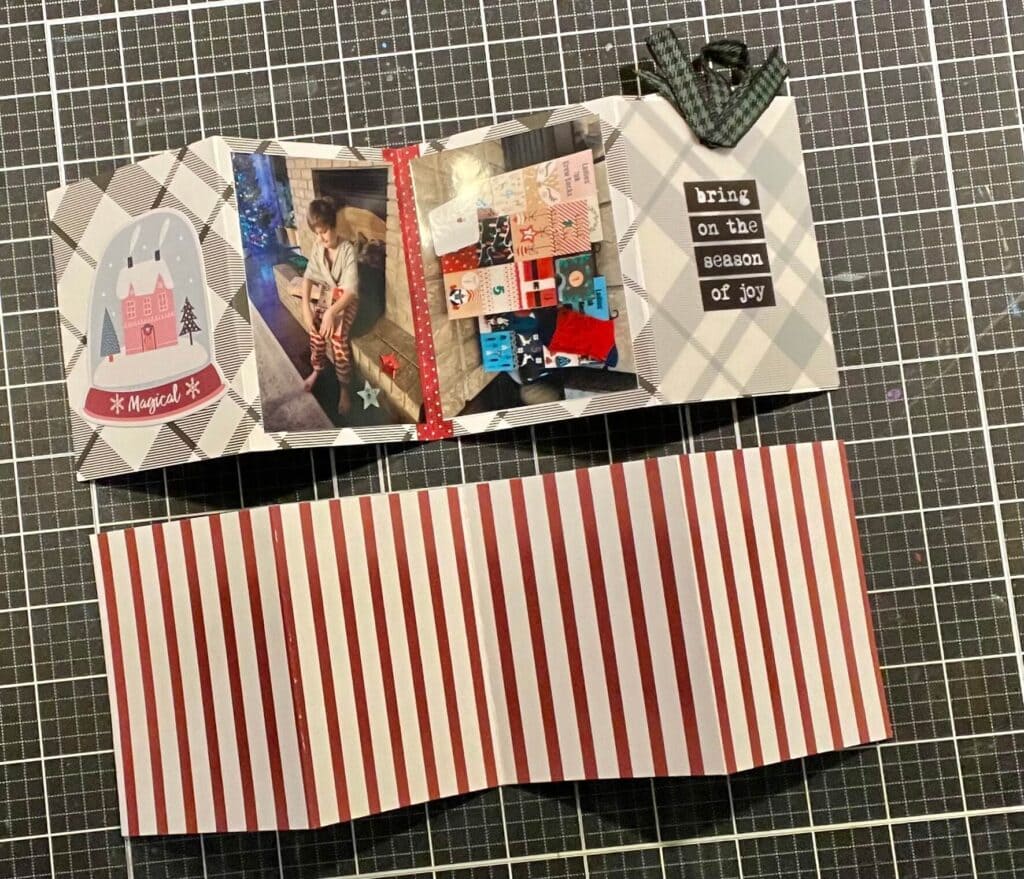
3. Fold your paper on the score lines accordion style leaving you with two peaks and one valley.
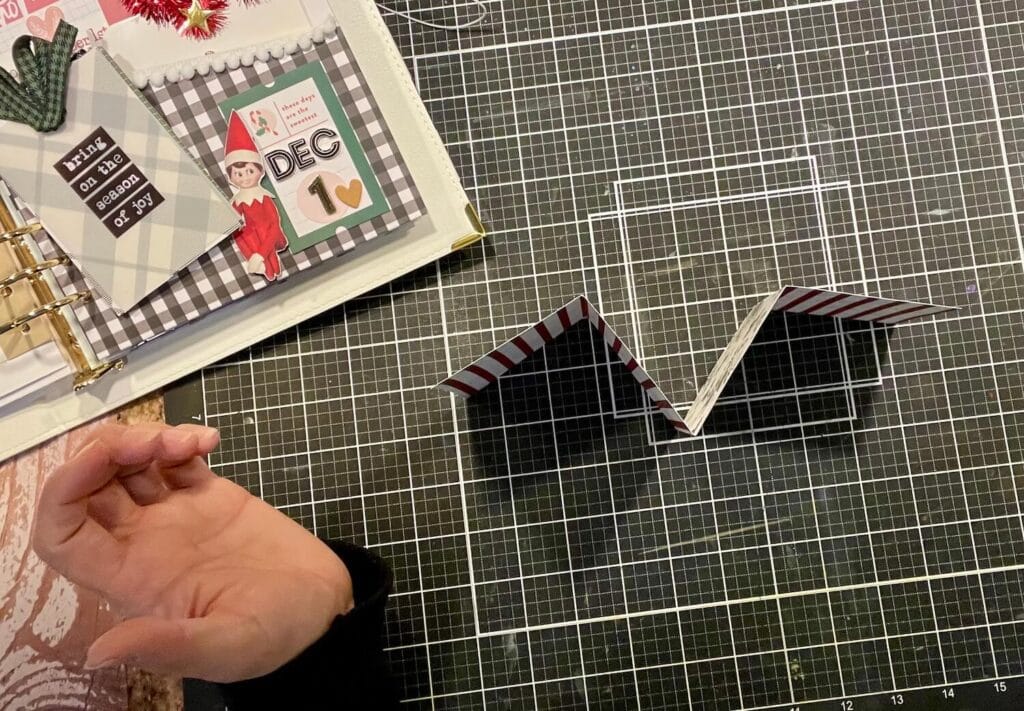
4. You may notice a bit of paper tearing after you fold the paper, especially if you used patterned paper. This is a great opportunity to use up some of that washi tape you have in your stash. Not only will it strengthen your mini-album, but also add another decorative element.

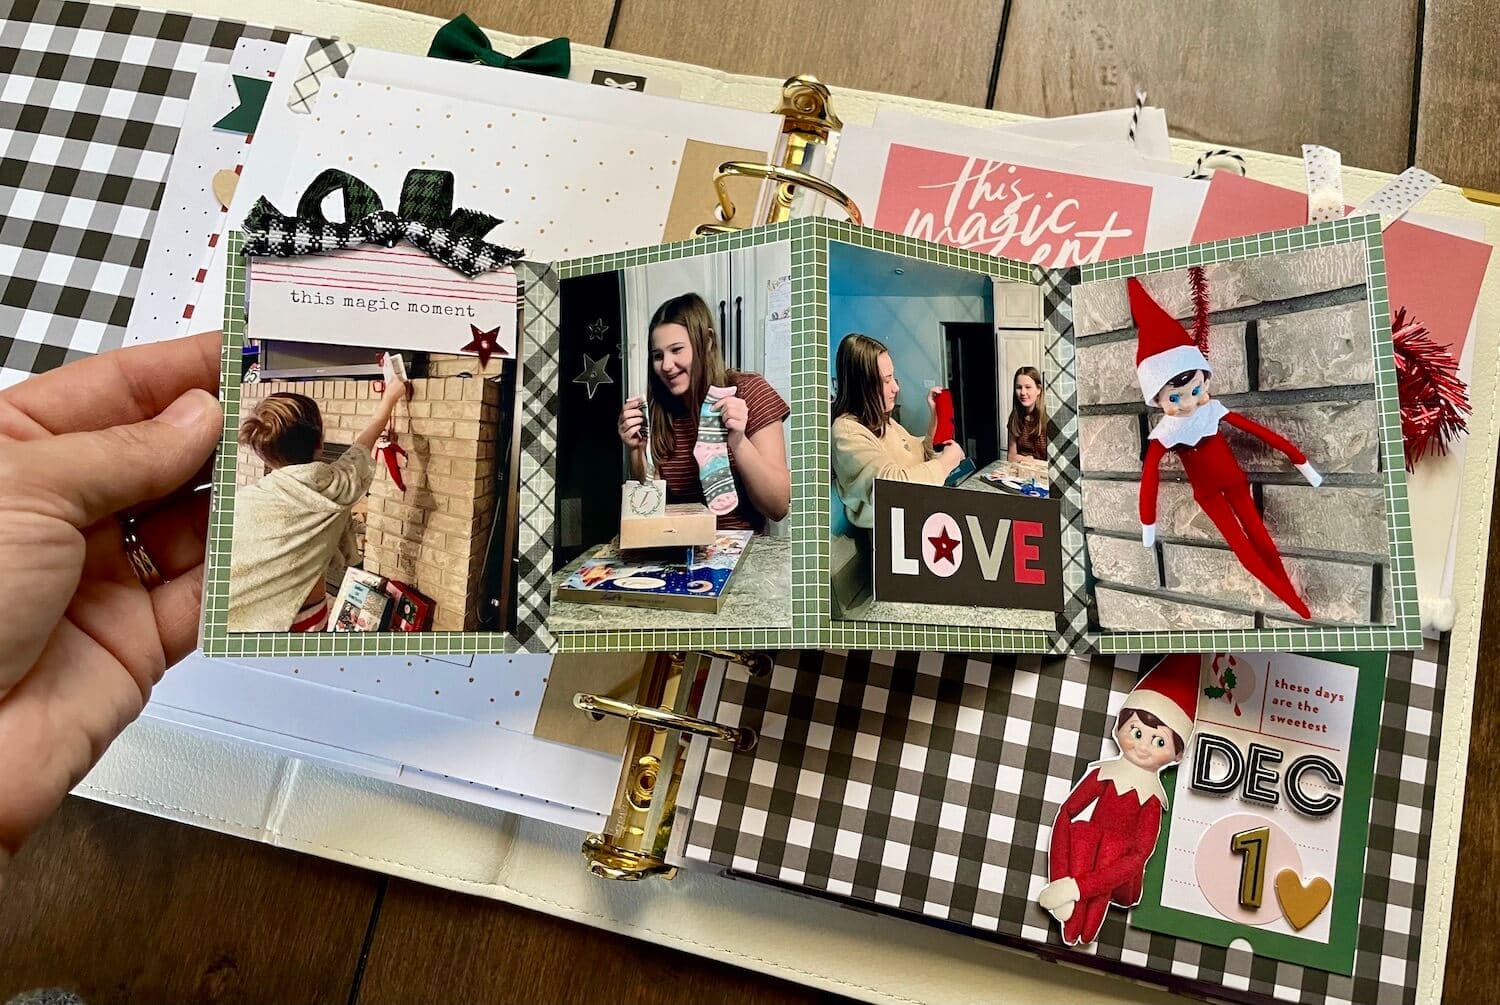
5. Leave the first space on “side A” as the cover of your album and then add your photos as you’d like.
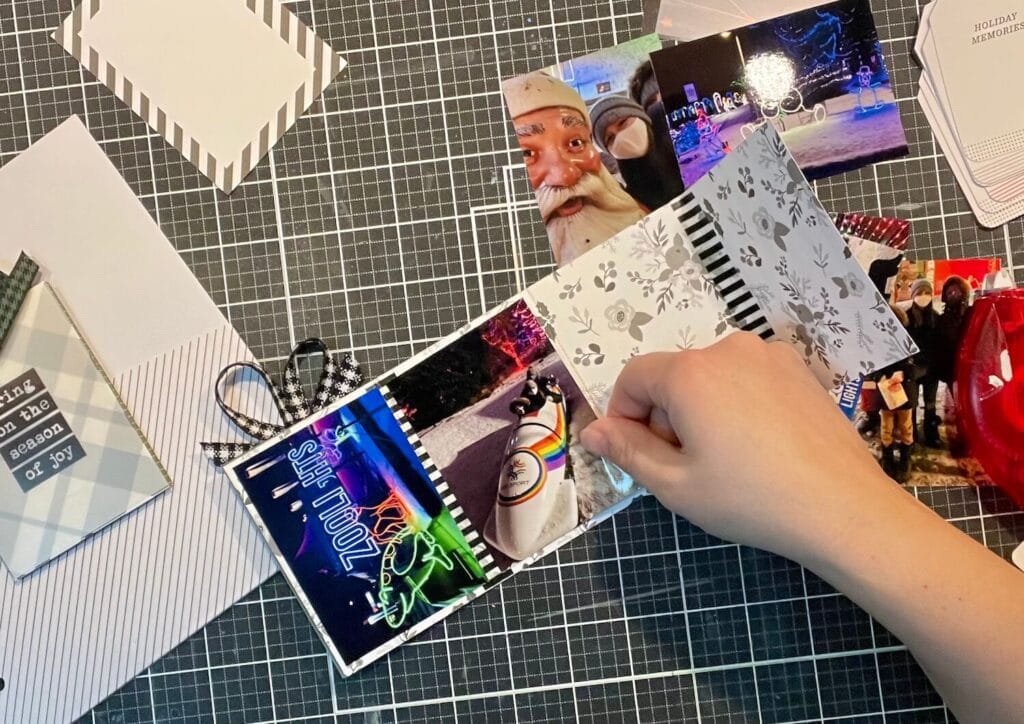
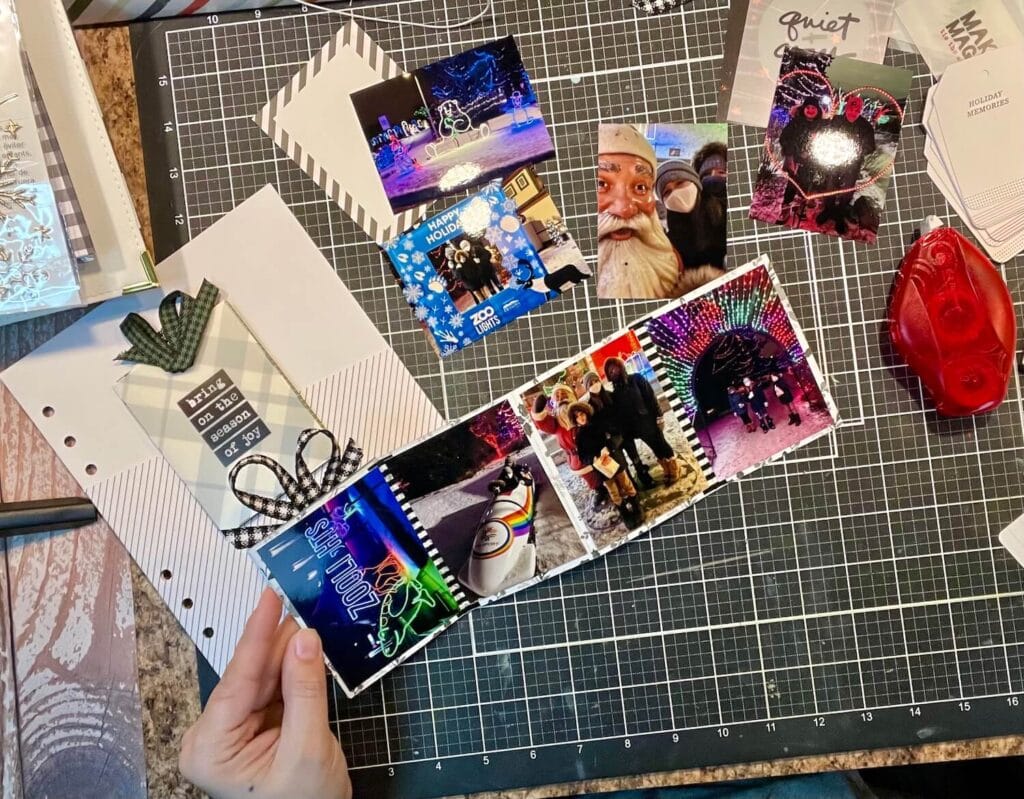
6. Once you’ve added your photos, embellish your mini accordion album to your heart’s desire.
Since I’ve made this mini accordion album as an insert for my December Daily Album, I didn’t want it to be too chunky or heavy. But you can very easily add a heavier cover with chipboard or cardboard to the front and back to help make it a bit more substantial.
There are 2 things you can do to make this mini album more of a stand-alone piece.
- Make the album bigger by cutting a second sheet of cardstock to 3×4 inches, Score at 3, 6, & 9 inches. Glues your 2 sheets together to make the album bigger allowing you to add more pictures and embellishments.
- Adding a chipboard or cardboard cover will help make your album sturdier.
Cut 2 pieces of cardboard 3×4 inches. Cut 2 pieces of patterned paper to 3.5 x 4.5 inches.
Lay the patterned paper face down, so the side you want as your cover is face down, and center the chipboard on the paper. Snip off the corners of the paper, fold the edges over and glue them to the chipboard.
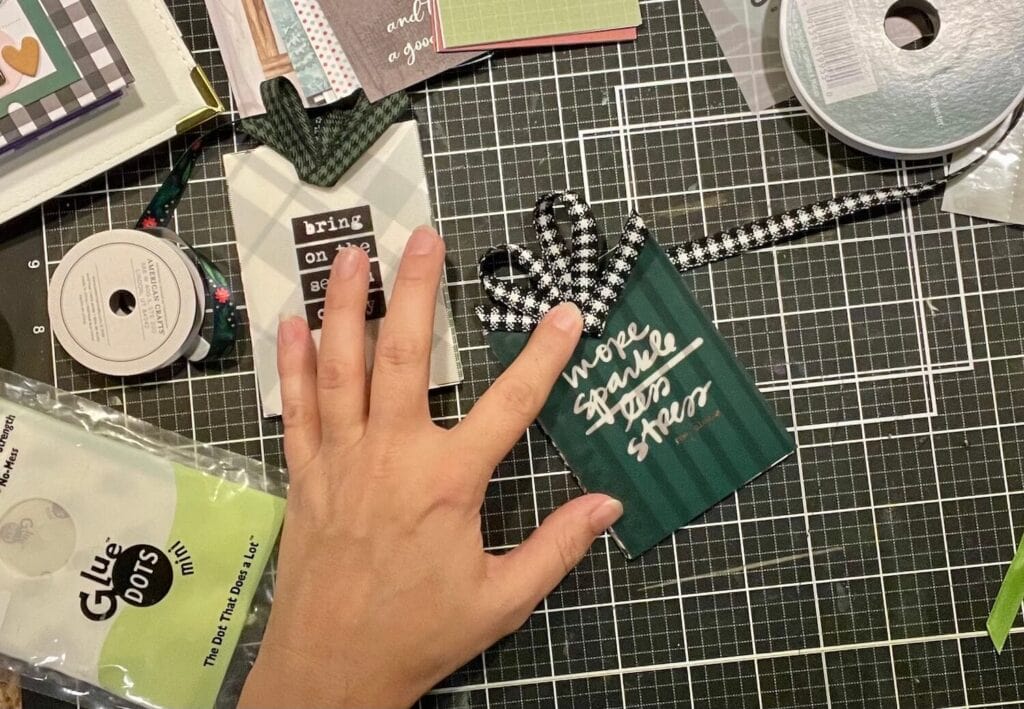
If you’d like to add a ribbon closure be sure to adhere to it between your cover (chipboard or cardboard) and the paper. Once that has dried, go ahead and stick everything together, and voila! You have a mini accordion album!