You Are Beautiful in Blues | Altenew AECP

I was so excited (and honestly a bit scared!) when Altenew accepted me into their AECP (Altenew Education Program). I have never been much of a cardmaker, but over this past year, I’ve really wanted to get more into stamping and decided that this is the perfect challenge for me.
As soon as I received the acceptance email, I said, “Oh crap, what did I get myself into!” After looking at some of the inspiration provided, I started to deflate even more. These women were creating stunning works of art. All I could think was “I am way out of my league.”
Instantly, I knew I had to get my butt in gear and learn and absorb everything possible about stamping and cardmaking in 2020.
After all, this is what I wanted and I am so excited to learn. Challenge accepted!

This post may contain affiliate links. This means if you click through and buy, we may earn a small commission. (At no cost to you.) Please see our full disclosure for more details.
All About Layering 1
So I got to work and watched every lesson in All About Layering 1, taught by Nicole Picadura.
The course contains ten lessons that start with the basics of how to use Altenew’s layering stamps. Each lesson has two videos, one showing how to layer different stamp sets, and in the second, she creates an inspiring project. Not to forget that it’s free! In fact, all of their layering courses are. You can find them here if you are interested.


Inspiration
For my project, I took inspiration from lesson six, where Nicole uses generational stamping using one ink colour for a very cool effect.
I chose to create a card for my thirteen-year-old daughter who has been feeling a bit down on herself this past week. The teenage years are so hard. I wanted to make something special for her and she loves the colour blue so I went from there.
Instructions:
Create The Background
1. Cut a piece of white cardstock to 4″ x 5 1/4″( I used Neenah Solar 80#)
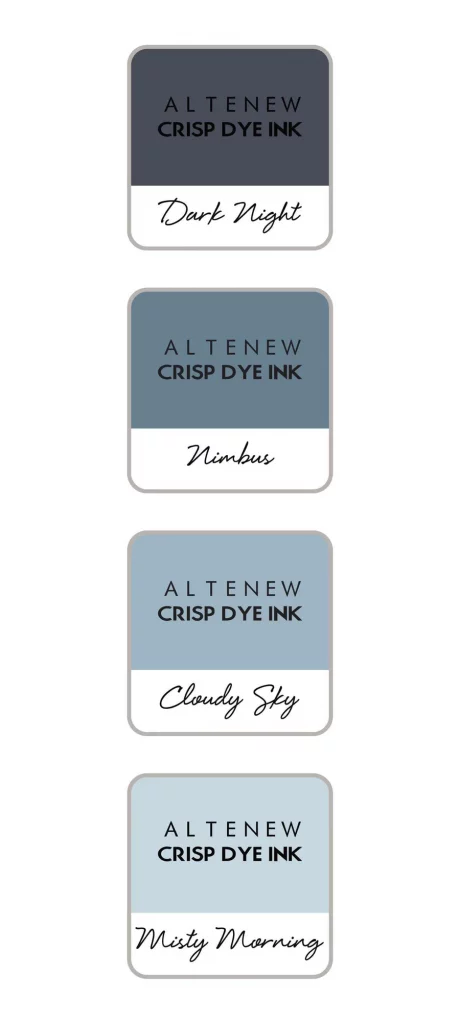
2. Create an ink blended “ombre” background using three complementary shades of blue.
Start at the top and with an ink blending tool, blend in your lightest colour. (I used Misty Morning) into the top third of your card panel. Blend the middle with the middle shade, (Cloudy Sky), and finally the bottom third with the darkest blue, (Nimbus). Keep blending until you achieve your desired look.

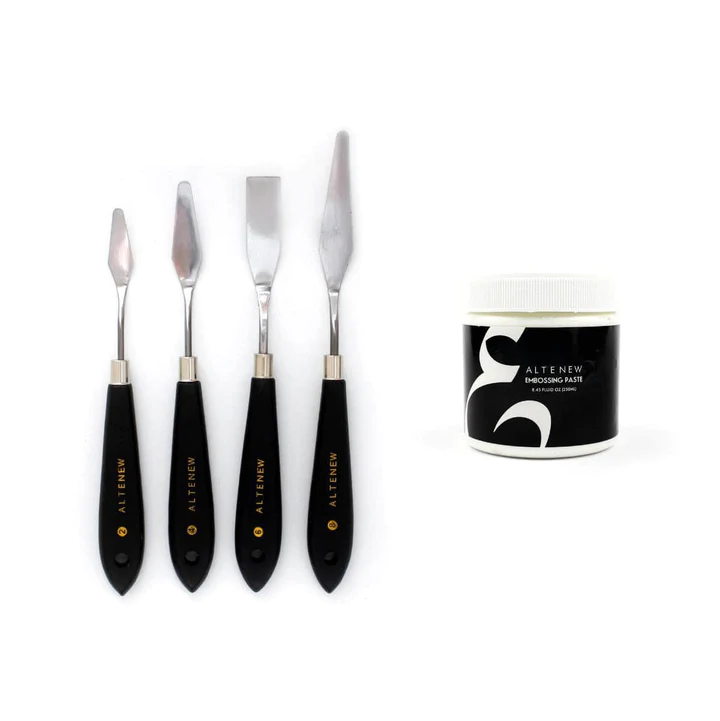
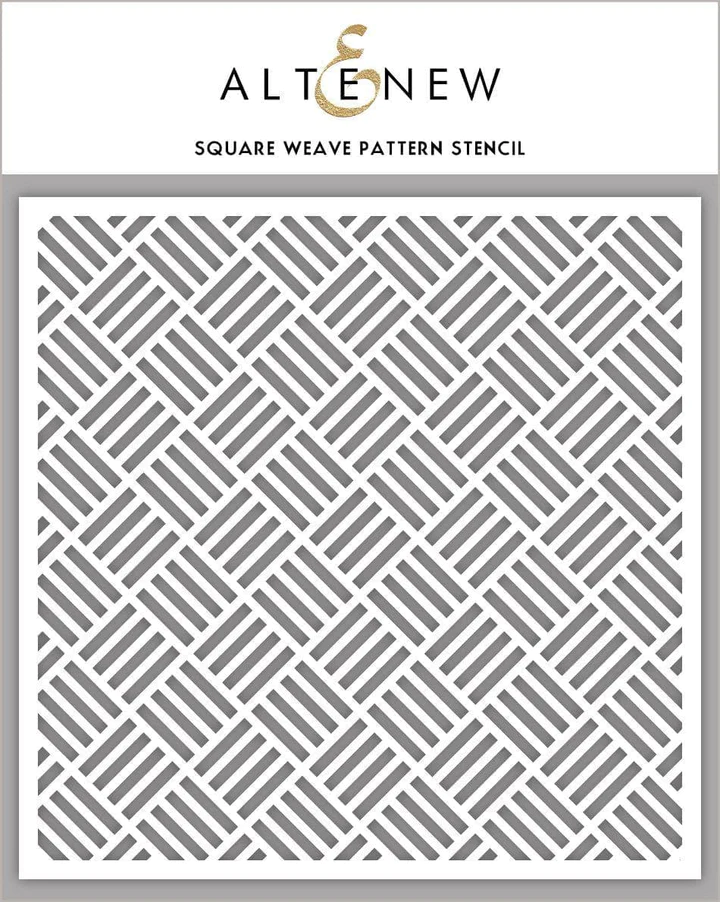
3. After the inks are blended. Spread embossing paste over a stencil to add some depth and texture to the background.
I used Altenew’s Embossing Paste, a small spatula and the Square Weave Pattern Stencil.
I’m sure there is a fancier way to apply embossing paste, but I simply tape the stencil onto a scrap piece of paper with the card panel underneath and then spread the embossing paste over top.
*Important: You need to let the embossing paste sit for a while to dry, overnight is best. You can use your heat gun to speed up the process, but go slow, it can bubble.
Stamp With Regal Beauty
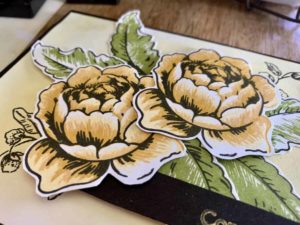
4. Stamp up the flowers and large leaves from the Regal Beauty stamp set by Altenew.
You can find the Regal Beauty Stamp Set here.
You will need:
- 1 large flower
- 1 small flower
- 3 leaves
Ink up the flowers and leaves with Nimbus (A dark blue). I used an acrylic block to stamp the images onto white cardstock, but you could easily use a stamping tool, such as a Misti.
As I mentioned earlier I took inspiration from lesson six in the All About Layering 1 course where Nicole does some generational stamping. To do this you’ll need to stamp off some of the ink before stamping for your project.
For the first layer, ink up your stamp, then stamp off onto a scrap piece of paper three times, which results in a 4th generation stamping. For the next layer stamp it off twice, then the next layer once, and the final layer stamp directly onto your image.
5. Stamp the sentiment “You Are Beautiful Just The Way You Are” onto white cardstock 3″ x 3/4″ with Nimbus ink.
One thing I wish I had done before I stuck it down was lightly inking the edges of the white cardstock. oh well, next time!
Put It All Together
6. Now you’ll need to fussy cut out all stamped flowers and leaves. Or better yet, purchase the coordinating dies with the stamp set.
Make sure your background is dry and start to assemble the flowers, leaves and sentiment for this beautiful blue card. Pop off the largest flower with 3D foam tape to add some dimension to the flower scene. Stick the rest directly to the card with adhesive.
7. I added sequins to the top left and bottom right as a finishing touch.
8. Cut a piece of white cardstock 4 1/2 ” x 11″ for the card base. I used Neenah Solar 110#. Score, fold and mount the card panel.
Products Used


This card was created as my submission for All About Layering 1 in Altenew’s AECP program. If you’d like more information on this program click here.
Save This Idea For Later