How To Use An SVG Cut File With Your Cricut

You’ve found the perfect cut file for your next scrapbook layout or project, and now what? It’s all new to you, and you’re not exactly sure what to do next.
So how exactly do you get it from a file on your computer to a physical product cut from your Cricut that you can get creative with? If this is you, and you need some help getting started with SVG cut files, here is a simple tutorial for getting from A to B.
If you are new to cut files and not exactly sure what they are all about, you might want to read All About Cut Files For Beginners. In this post, we find out exactly what a cut file is, what you need to use, and where you can buy them or find them for free.
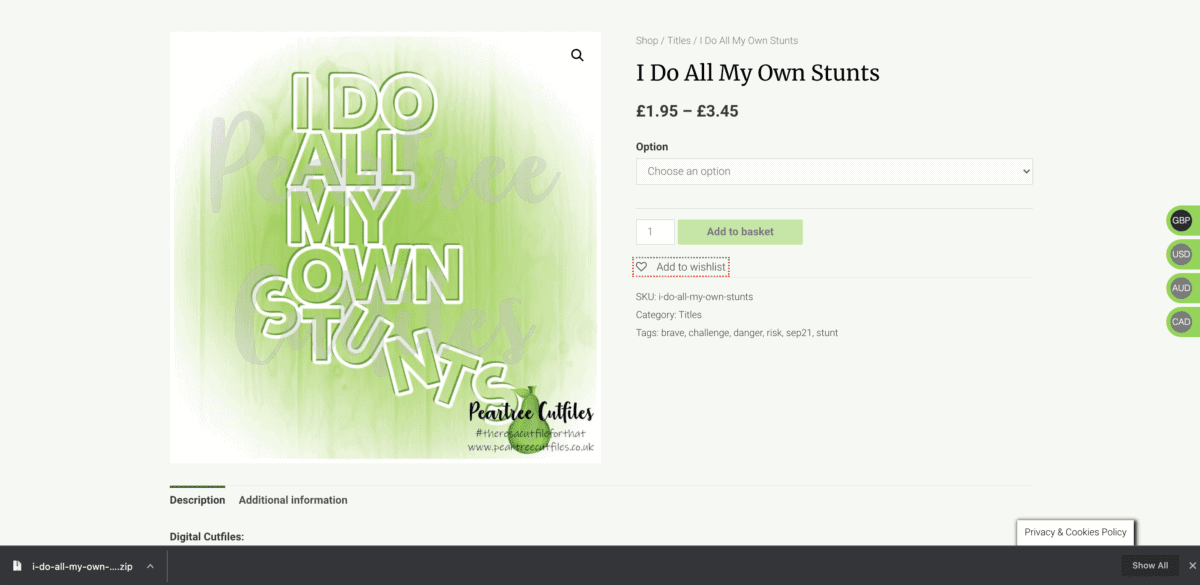
I will use this cut file from Peartree Cut files as an example throughout this post. To purchase this cut file, visit Peartree Cut Files.
This post may contain affiliate links. This means if you click through and buy, we may earn a small commission. (At no cost to you.) Please see our full disclosure for more details.
How To Download Your Cut File
Depending on where you get your SVG cut file from will depend on how you need to download it. Here are a few examples; this is from my experience; I cannot say for sure that this is how the SVG cut files will be delivered. The internet is the wild west, after all.
- When you’ve downloaded a free SVG, most places will collect your email address in exchange for the cut file; you may receive an instant download but most likely will get an email containing the files in your inbox.
- If you purchased your SVGs from an online shop (not Etsy), you would receive an email with the downloads and the opportunity to download them after your purchase has been confirmed.
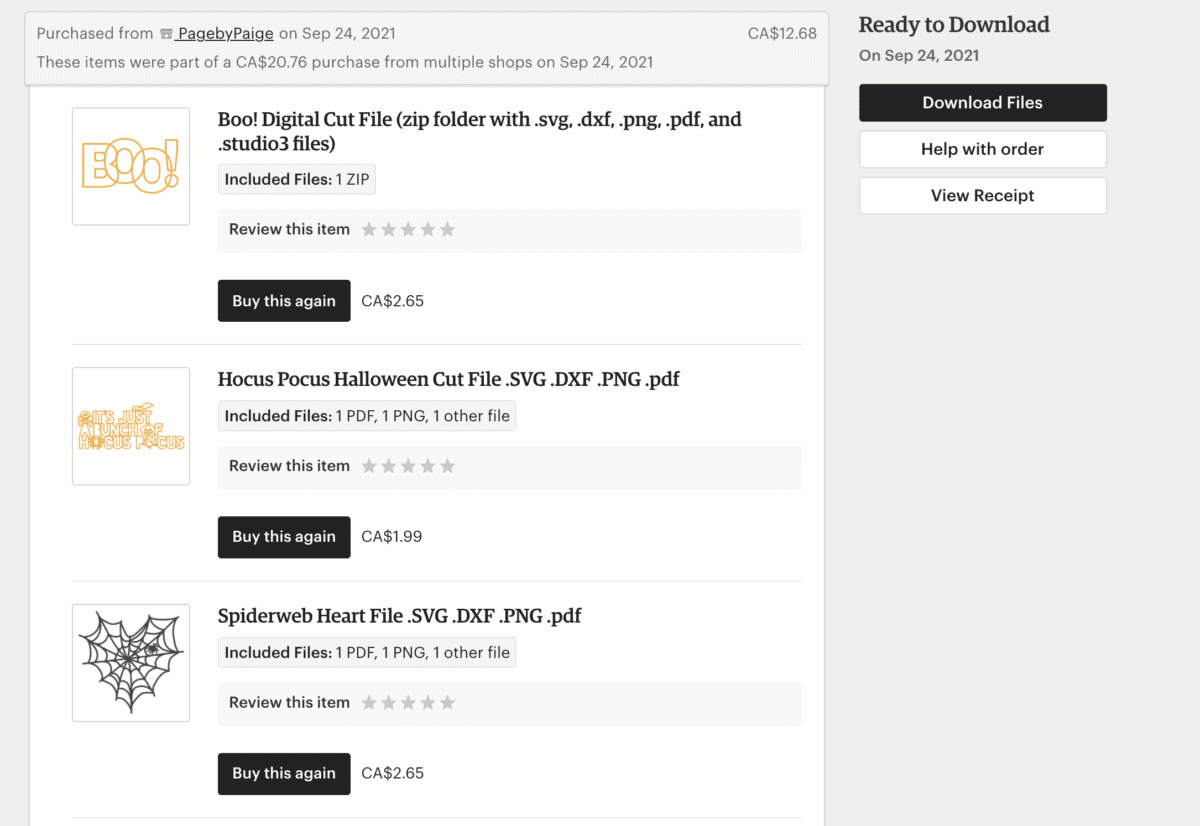
- If you found your new SVG on Etsy, you will find your files under your profile at the top right of the screen; click the drop-down menu and click on “Purchases and Reviews.” Here you can see all of the purchases you’ve made. Besides the purchase details you will see a black button where you can download your files. 👇
Keep Your Files Organized
Before you download your new cut files, the most important thing to do (IMO)is to make sure you’ve got a folder ready and waiting to store your new files.
Speaking from personal experience, if you don’t do this right away, you will regret it. I had mine all over the place: some on my computer, some on the cloud, some in the laundry room cupboard, lol. Just kidding… but that’s what it felt like!
I was fed up with my disorganization and did some googling for advice on how to conquer this mountain of mess I had made.
This is where I found a mini-course from Hey, Let’s Make Stuff! (a great site, BTW) that helped me immensely.
It’s called Cut File Clean Up. and it’s short, easily digestible and to the point, which I appreciate! But my favourite part of her course is the file download provided with the course. She has taken the time to set up an SVG filing system to help keep us organized. She takes a bunch of work off our plates by setting up all the folders.
For more information, click here 👉 Cut File Clean Up Mini-Course by Hey, Let’s Make Stuff!
Start your cut file collection on the right foot with a great, easy-to-understand organization system. This way, you can spend more time creating and less time looking for your cut files all over the place!
Time To Un-Zip Your Files
Once your files are set up into a filing system that’s easy for you to use, it’s time to unzip the folders. Ooh, la la.
To unzip your files:
(* I use a Mac computer. All the screenshots you will see will be from a Mac computer, but the process is the same for a PC. )
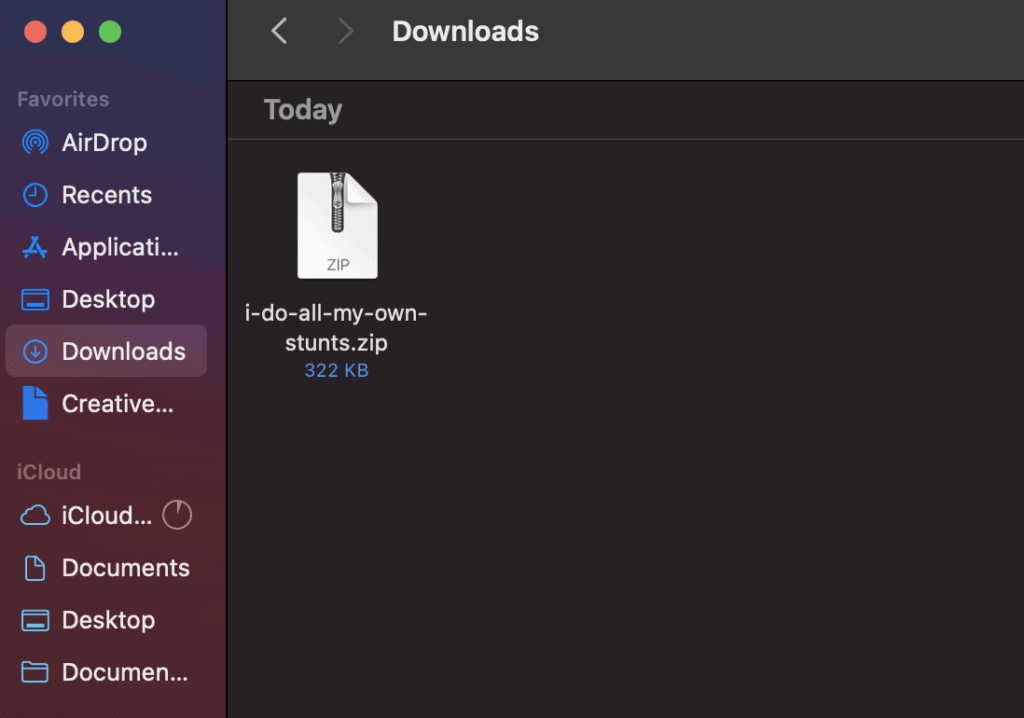
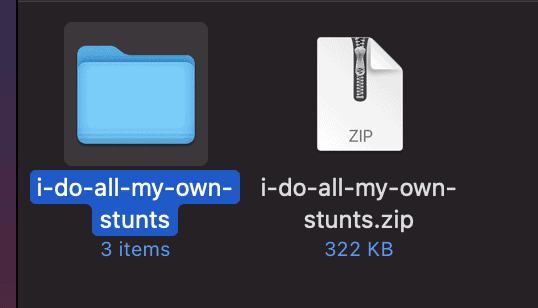
- If you are using a Mac computer, simply double-click on the icon with the “zipper” on it. This will cause a new blue folder to open with all of your unzipped files inside.
- If you are using a PC, open your file and click “Extract All” to open the files.
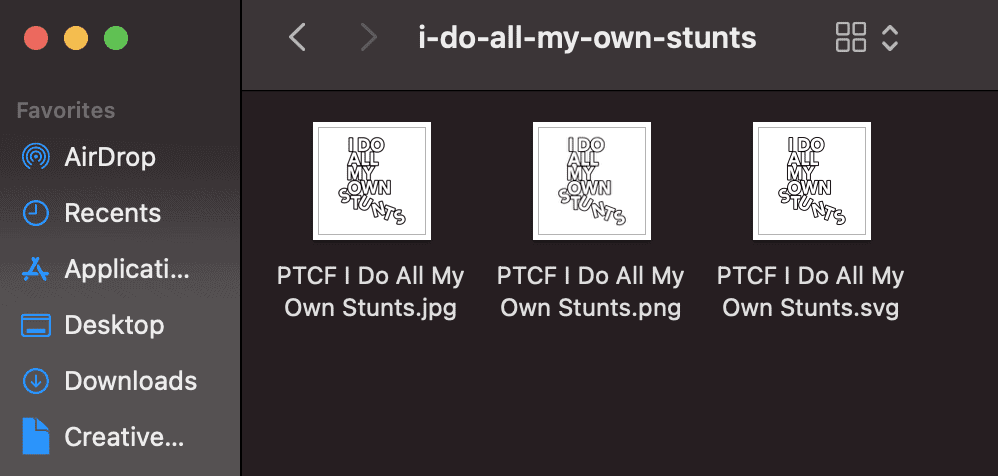
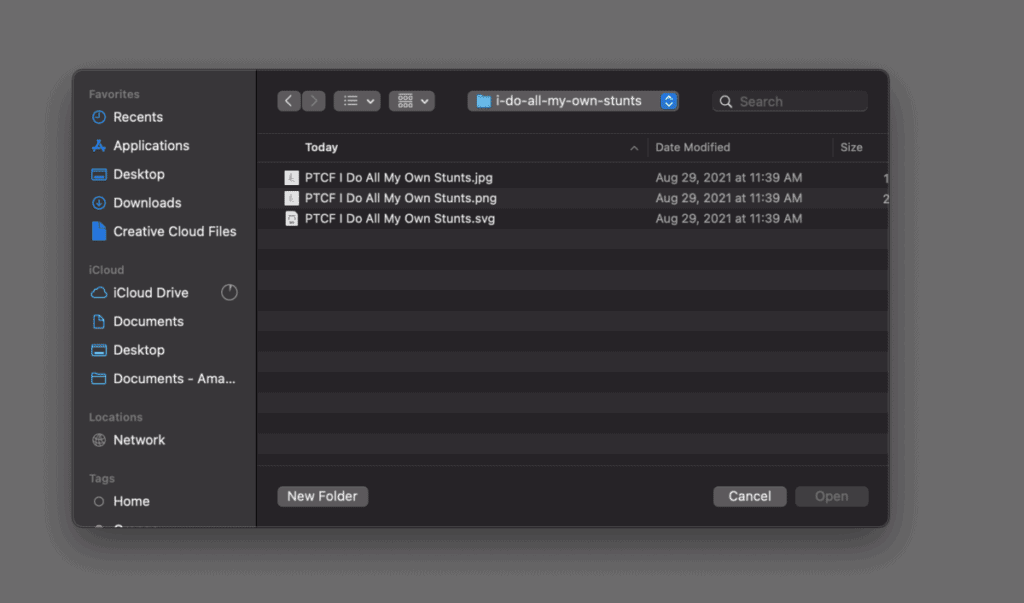
Inside the unzipped folder, you will see all the different file types that came with you.
In this unzipped folder I have a JPEG (.jpg), PNG(.png) and SVG (.svg) file.
Upload Into Your Cutting Machine Software
Now it’s time to open up your design software program. The two most common electronic die-cutting machine brands are Cricut and Silhouette. I am most familiar with Cricut Design Space. Below you will find step-by-step instructions on how to open your SVG files in each program.
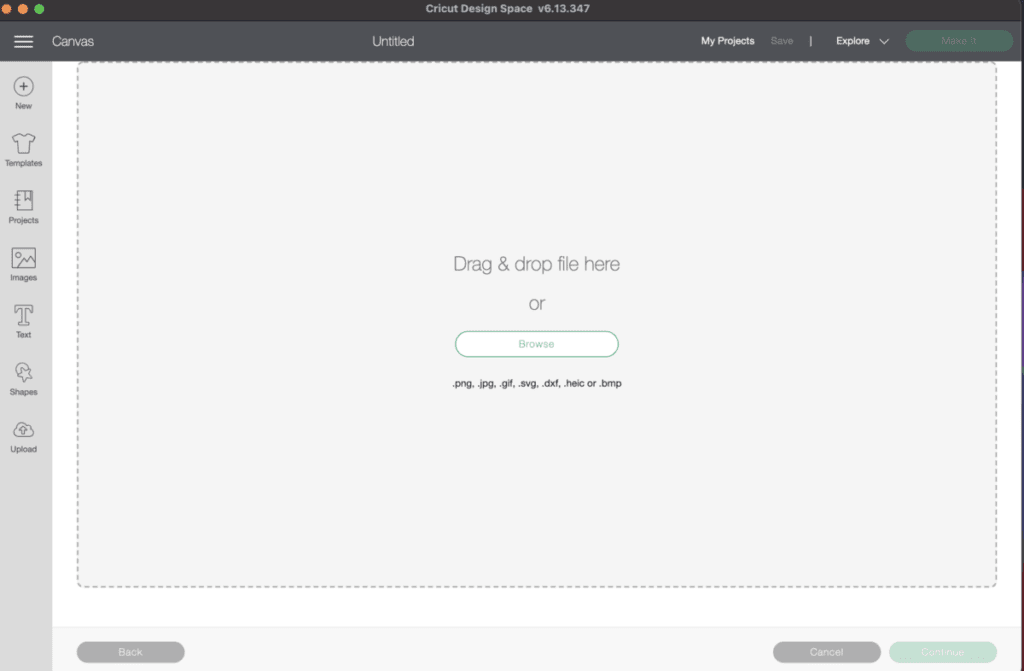
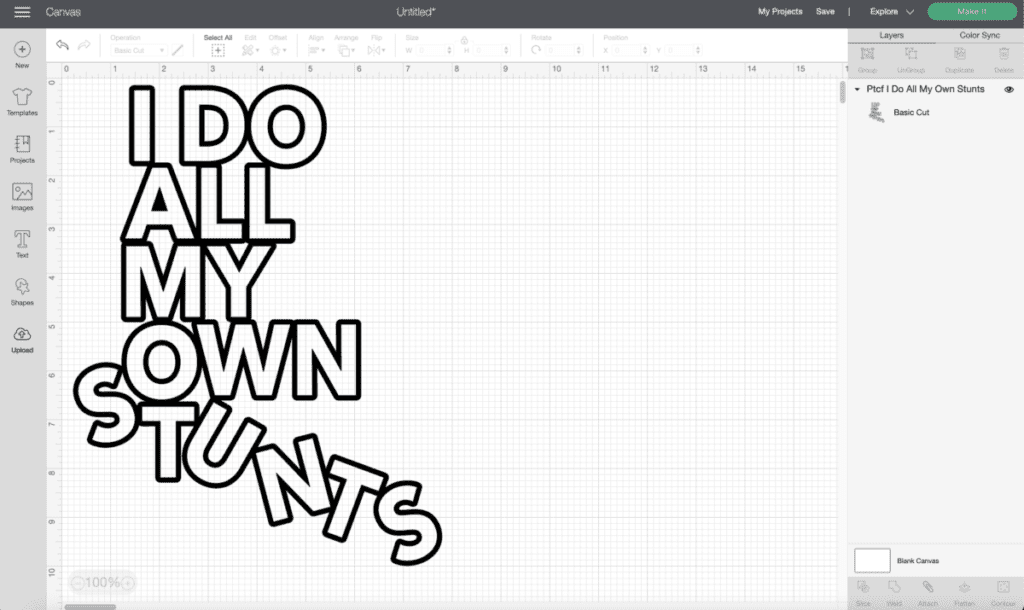
Cricut Design Space
Click the “Upload Image” button (it’s green and on the left)
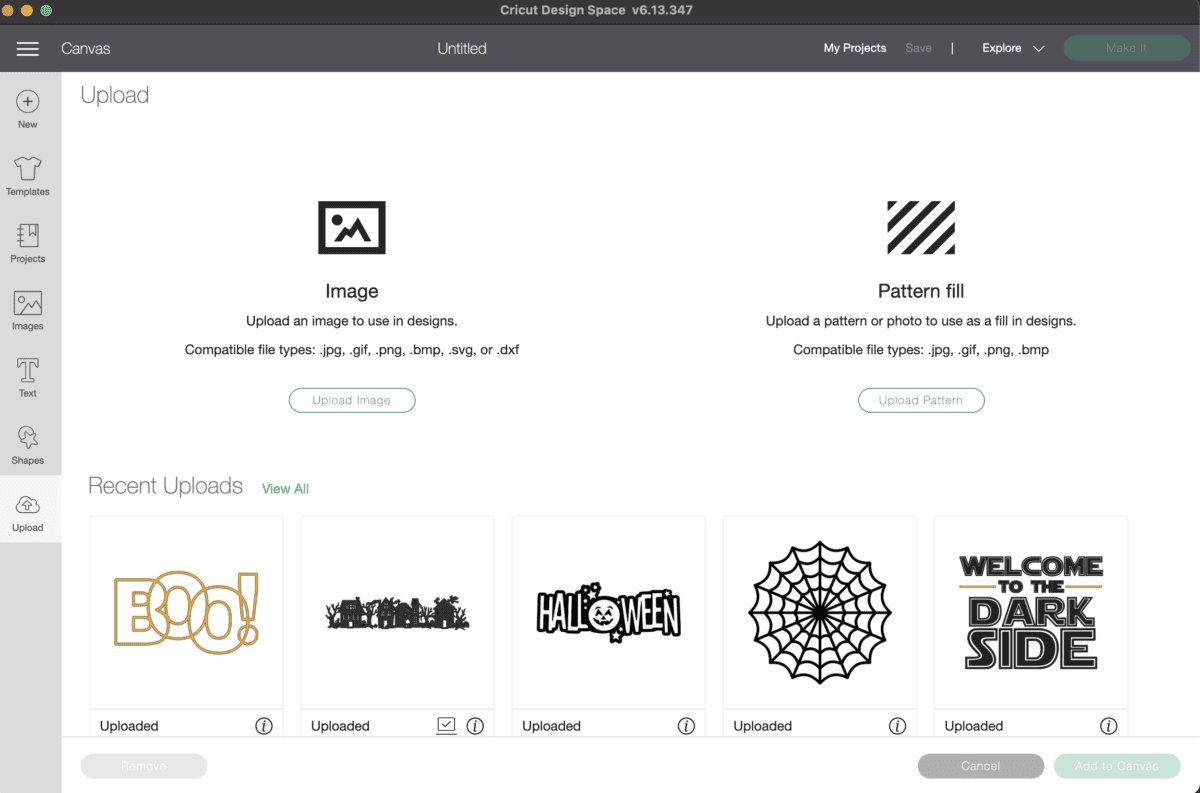
*Remember to upload the SVG version. You’ll know it’s an SVG since it will have .svg after the title.

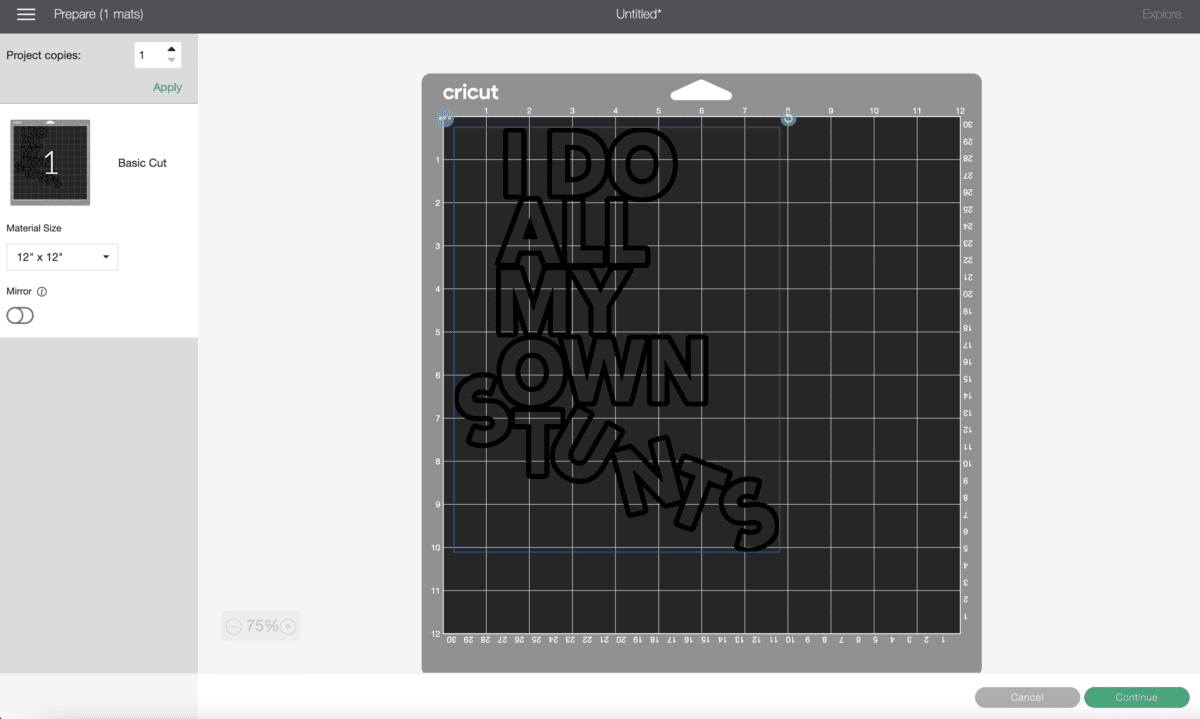
The next screen will show you how your design will fit on your Cricut mat. Once again, if it all looks good, hit the “Continue” button at the bottom right. Ensure that your machine is connected, your dial is powered on to the correct material selection, your blade is installed correctly, and you are good to go!
Congratulations! You just “cut” a cut file!
Cut files are such a great way to add some personalization to your scrapbook pages, and you are now on your way to creating some beautiful pages.
Pin It For Later